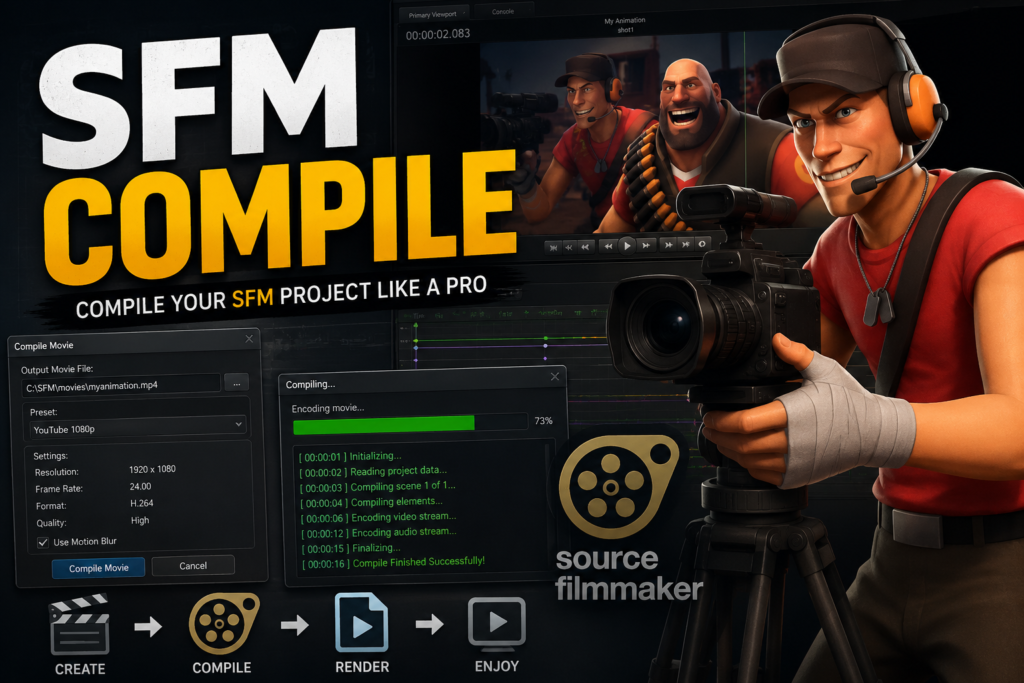
SFM Compile
If you’ve spent any time inside Source Filmmaker, you’ve probably hit a wall where a custom model simply refuses to load, or worse, appears as a pink-and-black checkerboard nightmare. That frustration usually comes down to one thing: sfm compile. This process sits at the heart of every custom animation project built in Valve’s engine, yet it remains one of the most misunderstood steps for newcomers. Whether you’re importing a character from Blender, fixing broken textures, or trying to understand why your model won’t appear correctly, this guide walks through exactly what SFM compile involves. By the end, you’ll understand the tools, the file formats, and the troubleshooting steps that separate a smooth workflow from hours of wasted effort.
What Does SFM Compile Actually Mean?
SFM compile refers to the process of converting raw 3D asset files into a format that Source Filmmaker’s underlying engine, the Source Engine, can actually read and render. Source Filmmaker doesn’t understand modern formats like FBX or OBJ directly. Instead, it relies on a specific set of compiled files, most notably MDL, VVD, and VTX, which store the model’s mesh, skeleton, and rendering data in a way the engine has been optimised to process quickly. Without this conversion step, a model exists only as raw data that Source Filmmaker cannot interpret, regardless of how well it was built in your original modelling software.
This matters because Source Filmmaker was originally built by Valve as an internal tool for producing Team Fortress 2 shorts, later released publicly for the wider animation community. Its entire pipeline assumes assets have already been through the Source Engine’s compilation process, the same one used for in-game characters and props. That’s why a beautifully rigged Blender model can look flawless in its native software but crash or vanish entirely the moment it’s dropped into an SFM project folder without being compiled first.
Understanding this distinction early saves enormous frustration. Many beginners assume they can simply copy a model file into their SFM directory and expect it to appear in the viewport. In reality, every custom asset, whether it’s a character, a prop, or an environmental piece, must pass through the compile stage before Source Filmmaker recognises it as usable content. This single concept underpins almost every troubleshooting guide, forum thread, and workflow tip you’ll find related to Source Filmmaker asset creation.
Why Custom Models Need Compiling in Source Filmmaker
The Source Engine was designed years before formats like glTF or FBX became industry standard, so it uses its own proprietary structure for storing 3D data. When you compile a model for SFM, you’re essentially translating universal mesh and animation data into a language the engine was built to understand natively. This isn’t just a technical formality; it directly affects how efficiently a model renders, how physics interactions behave, and whether animations play back correctly inside a scene.
Consider the physical body files, PHY format, which define collision and rigid body behaviour for props and characters. Without proper compilation, an object might clip through surfaces, ignore gravity, or fail to interact with the camera and lighting rig entirely. Similarly, texture files must be converted into VTF and VMT formats before the engine will display them correctly. Skip this step, and you’ll be staring at the dreaded purple-and-black texture error that plagues nearly every new SFM creator at some point.
There’s also a performance dimension to this. Compiled models are optimised specifically for real-time rendering within the viewport, which is essential given that Source Filmmaker operates as a what-you-see-is-what-you-get environment. Raw, uncompiled data would be far too heavy and unstructured for the engine to render smoothly during live editing sessions. This optimisation is precisely why the compile step cannot be skipped or shortcut, no matter how tempting it might seem when you’re eager to get a new asset into your project.
The Essential Tools Behind Every SFM Compile
Every reliable SFM compile workflow starts with Valve’s own studiomdl.exe, the command-line compiler bundled with the Source Filmmaker installation. This tool reads instructions from a QC script and processes them into the final compiled model files. It’s the actual engine doing the heavy lifting behind the scenes, converting raw geometry, skeletal data, and material references into the MDL-based structure Source Filmmaker expects. Although it runs through the command line, which can feel intimidating at first, studiomdl remains the foundation that every other compiling tool ultimately relies on.
For creators who prefer a visual interface, Crowbar has become the community standard. It wraps studiomdl in a graphical front end, letting you manage QC files, trigger compilations, and read error logs without touching the command line directly. Crowbar significantly lowers the entry barrier for beginners, and its drag-and-drop functionality has made it the go-to choice across SFM and wider Source modding communities. Alongside it, Notepad++ remains popular for writing and editing QC scripts, since these are plain text files that benefit from proper syntax highlighting.
Before any of these tools come into play, your model typically needs to be built and exported from a 3D modelling package such as Blender. The Blender Source Tools plugin allows you to export meshes and animations in SMD or DMX format, both of which are compatible with the Source Engine’s compiler. This combination, Blender for modelling, Crowbar or studiomdl for compiling, and a text editor for QC scripting, forms the backbone of nearly every custom asset pipeline used by Source Filmmaker creators today.
Understanding QC Files and the Compilation Process
A QC file, short for “Quake C” in reference to its origins, acts as the instruction manual for the entire compile process. It’s a plain text script that tells studiomdl exactly which reference meshes to use, where texture files are located, how the skeleton should be structured, and which animations should be bundled into the final model. Every successful SFM compile depends on this script being accurate, since even a single incorrect file path can cause the entire compilation to fail or produce a broken result.
Within a QC file, you’ll typically find commands defining the model name, the body groups, material directories, and any collision or physics data. More advanced scripts also include level-of-detail settings, which allow the engine to swap in simplified versions of a model when it’s viewed from a distance, improving performance during rendering. Getting comfortable reading and editing these commands is arguably the single most valuable skill for anyone serious about custom SFM content, since it gives you direct control over how your assets behave once compiled.
Once the QC script is ready, running it through studiomdl or Crowbar triggers the actual compilation. The compiler processes each referenced file in sequence, checking for consistency between the mesh, the skeleton, and the material definitions. If everything lines up correctly, it outputs a complete set of MDL, VVD, and VTX files into your specified directory. These files can then be moved into the appropriate Source Filmmaker model folder, where the engine will recognise and load them like any other native asset.
Common SFM Compile Errors and How to Fix Them
Texture path errors rank among the most frequent problems creators encounter during an SFM compile. This happens when the material files referenced in the QC script don’t match the actual folder structure inside your game or SFM directory. The result is usually a model that loads correctly in shape but appears wrapped in a checkerboard pattern or solid pink surface. Fixing this typically involves double-checking your VMT file paths and ensuring they align exactly with where your VTF textures are stored.
Bone structure mismatches cause a different category of headache. If your model’s skeleton doesn’t follow Source Engine naming conventions, animations may play incorrectly, limbs might twist unnaturally, or the rig could fail to respond to posing tools entirely. This is particularly common when importing rigs built for other engines or software, since bone naming standards vary widely across the 3D animation industry. Renaming bones to match Source Engine conventions, or using conversion scripts designed for this purpose, usually resolves the issue.
Scale problems round out the most common trio of compile errors. A model compiled without proper scale settings might appear gigantic, microscopic, or seemingly invisible inside the SFM viewport. This usually traces back to unit mismatches between your modelling software and the Source Engine’s expected scale, often measured in inches rather than metres or centimetres. Thankfully, the compiler’s log output almost always points directly to the QC line responsible, making these errors far easier to diagnose than they initially appear once you know where to look.
SFM Compile vs Rendering: Clearing Up the Confusion
One source of ongoing confusion within the community is that “compile” sometimes gets used loosely to describe exporting a finished animation into a video file, rather than the technical process of preparing model assets. These are genuinely two different stages of the SFM workflow, even though both involve the word “compile” in casual conversation. Model compilation happens before you ever start animating, transforming raw assets into usable Source Filmmaker content. Movie export, by contrast, happens after your scene is complete, converting your timeline into a shareable video.
When exporting a finished project, Source Filmmaker processes every camera angle, lighting setup, and sound cue in your active session and merges it into a single output file, typically MP4 or an image sequence. This is accessed through File, then Export, then Movie, where you select resolution, frame rate, and format settings. While this process is sometimes informally called “compiling the video,” it’s technically a rendering export rather than the asset-level SFM compile discussed throughout most of this guide.
Keeping these two processes distinct matters because the troubleshooting steps are completely different. A broken texture or missing bone points to a model compilation issue, solved through QC files and studiomdl. A black screen or crash during video export, meanwhile, usually relates to camera selection, resolution settings, or hardware limitations during rendering. Recognising which stage you’re actually dealing with saves considerable time when searching for solutions or asking for help within the community.
Best Practices for a Smooth SFM Compile Workflow
Organisation is the single biggest factor separating smooth compile workflows from chaotic ones. Keeping your model files, texture files, and QC scripts in clearly labelled, separate folders prevents the vast majority of path-related errors before they even occur. Many experienced creators build a consistent folder structure they reuse across every project, which makes debugging significantly faster since every reference always points to a predictable location.
Testing incrementally rather than compiling an entire complex asset in one go also pays dividends. Building a simple test model first confirms that your compiler, folder structure, and material setup are functioning correctly before you invest hours into a detailed character or environment piece. This habit catches configuration issues early, when they’re quick to fix, rather than after you’ve already built out an elaborate QC script full of animations and body groups.
Finally, always read your compiler logs carefully rather than dismissing them after a failed attempt. Studiomdl and Crowbar both output detailed feedback pointing to the exact line causing a problem, whether that’s a missing reference file, an invalid material path, or a skeletal inconsistency. Learning to interpret these logs turns SFM compile from a frustrating guessing game into a predictable, repeatable process, one that becomes second nature the more custom assets you work through over time.
Final Thoughts on Mastering SFM Compile
SFM compile might seem intimidating at first glance, but it ultimately boils down to a logical sequence: prepare your assets, write an accurate QC script, run the compiler, and verify the results inside Source Filmmaker. Every error you’ll encounter along the way, whether it’s a texture path issue, a bone mismatch, or a scale problem, has a clear, traceable cause once you understand how the compilation pipeline actually works. The tools involved, studiomdl, Crowbar, and Blender’s export plugins, have been refined by a large and active community precisely because so many creators have walked this same path before you.
Mastering this process opens the door to genuinely custom animation work, rather than relying solely on default assets. It’s the difference between being limited to whatever models Valve included and having the freedom to bring any character or prop you can imagine into a Source Filmmaker scene. With patience, careful folder organisation, and a willingness to read compiler logs rather than fear them, SFM compile becomes a reliable part of your creative toolkit rather than an obstacle standing between you and finished animations.